Saturday, 2 May 2015

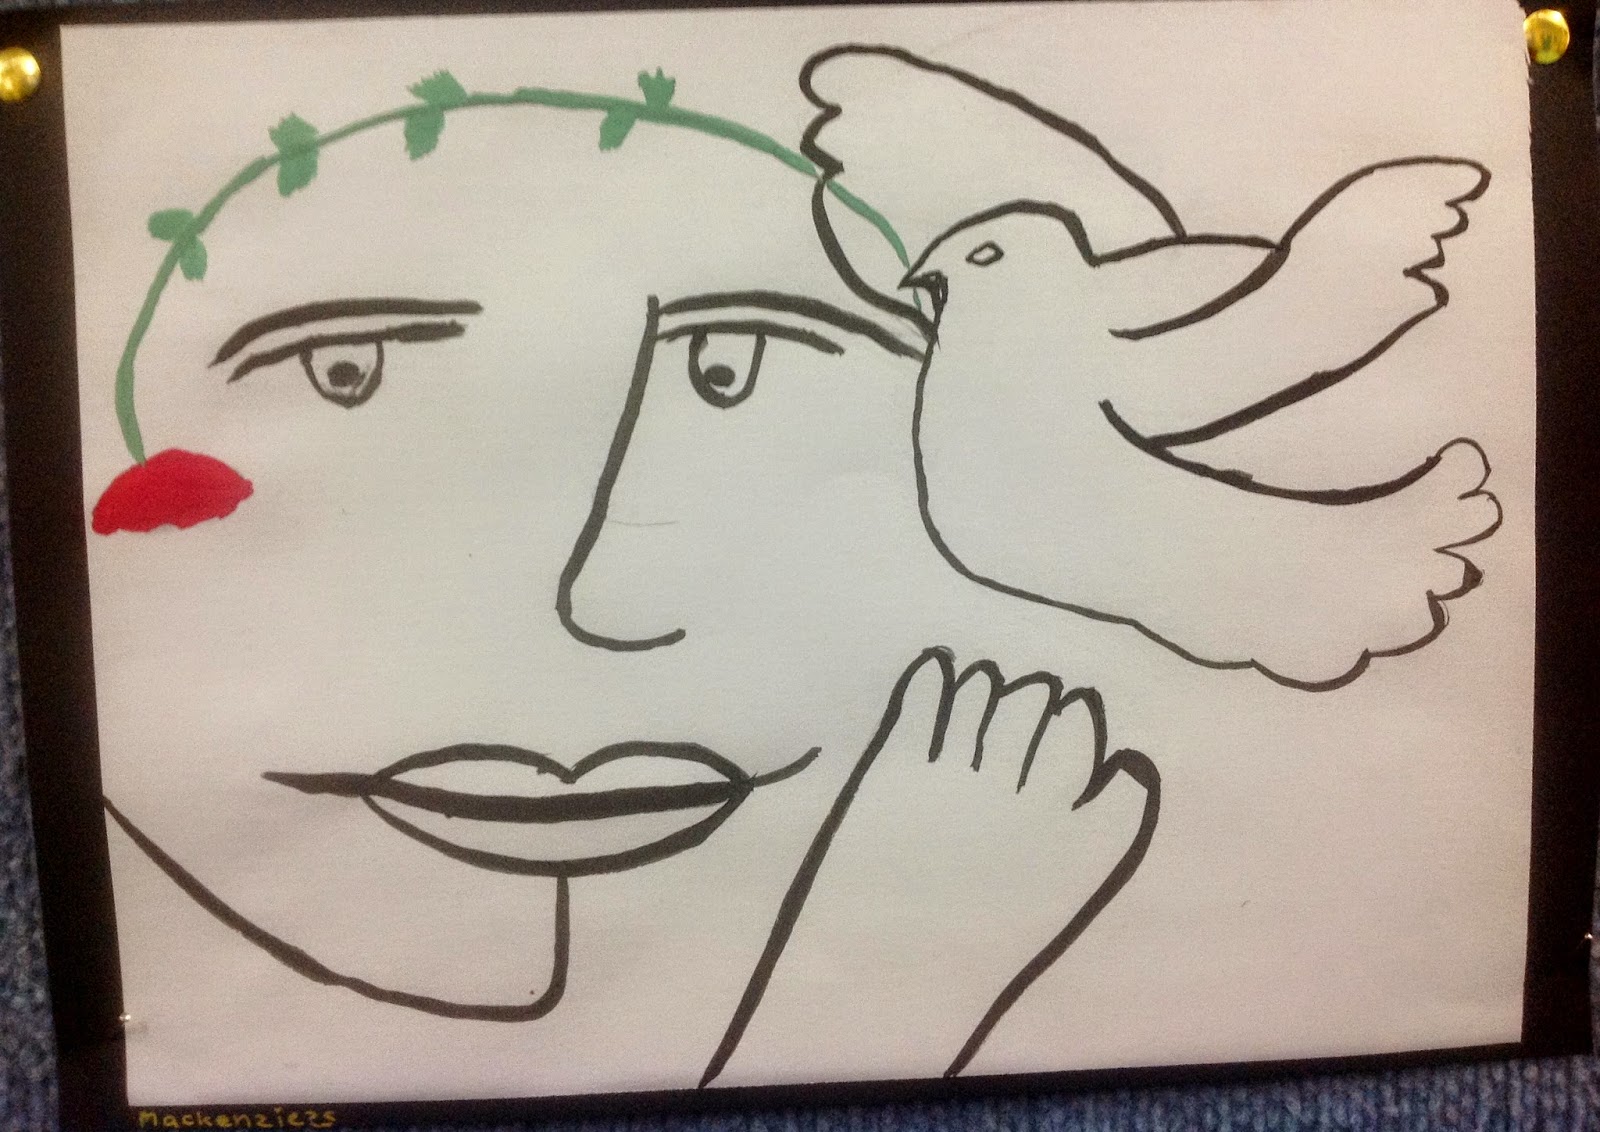
Picasso Peace Doves

By Ari (Grade 5)

Lesson Background:
As a part of our ANZAC day commemorations, my Year 5 class examined the dove artworks of Picasso and why he created the now famous symbol of the peace dove.  We then created our own version of his dove artworks to symbolise the peaceful future we hope for, and included a red poppy to symbolise and remember ANZAC day and our fallen soldiers.

Lesson Materials (per student):

Lesson Steps:

Grade 5 Student Artworks:


By Miranda


By Mackenzie

By Hanser

By Hayley


By Lewis

 
By Maddy
 
By Zoe


By Brenda


Thursday, 16 April 2015

Russian Architecture

Kindergarten - Year 6 Artworks

Lesson Background:

My school celebrates Harmony Day each year, with an amazing day of activities that allow the children to experience different cultures in a variety of ways.  For my activity this year, I taught my group about Russian architecture, and we created these artworks to celebrate how truly gorgeous the architecture in that part of the world can be.  Thanks to Deep Space Sparkle for the initial idea: http://www.deepspacesparkle.com/shop/line-color-fun/  Please note, I demonstrated each step on my whiteboard as we got to it, before the children had a go.

Lesson Materials (per student):

1 sheet A3 white art paper
1 lead pencil
1 eraser
1 black permanent marker
Coloured oil pastels
A small dollop of gold acrylic paint
1 small, thin paintbrush
A sheet of newspaper to cover the table
A water pots to wash the paintbrush

Lesson Steps:

1.  Look at photos of Russian architecture using Google Images, especially the different types of roofs, including the onion dome.
2.  Using the lead pencil, and starting from towards the top of the left side of the art paper (landscape position), draw a straight line going across and then straight down, to make 1 rectangular building shape (with the edge of the page being the left side of the building).  Then draw more rectangular building shapes of different heights and widths all the way across the page, using the left side of the building as a combined wall with the previous building.  Draw buildings behind as well, to make it look more realistic.
3.  Draw a different roof type on the top of each building (I used triangle roofs, cone shaped roofs, and onion domes).  Rub out any lines that overlap.
4.  Outline all the buildings and roofs in black permanent marker.
5.  Still using the black permanent marker, draw a range of different patterns inside the buildings and roofs, using a mixture of thin and thick lines, and contrasting sections of white and coloured-in black.
6.  Choose 2 or 3 coloured to fill in the sky.  The colours should blend well (to do this, choose colours next to each other on the colour wheel, such as yellow-orange-red, or blue-purple-red, or light blue-dark blue)
7.  Start with the lightest colour at the bottom near the horizon line.  Colour thickly, pressing firmly so there are no white gaps.  After a third or a half of the sky is filled (depending on how many colours you are using), swap to the next lightest colour, then the darkest colour.  Once the 2 or 3 colours are on the paper and no white gaps are left, pick up the lightest coloured oil pastel and colour over the top of the sky in a downwards motion, blending all the colours together.  Students usually need to see this demonstrated.  You should end up with a much smoother final effect using this strategy.
8.  Choose a few roofs to paint with gold paint.  Once dry, reoutline any messy bits with black marker.
9.  Trim and back on black backing card.


Demonstrating how to fill in the buildings with different patterns

Looking at photos of Russian architecture

Students hard at work


Demonstrating how to colour the sky
Kindergarten - Year 6 Artworks

Aiden~ Year 5

Allira~ Year 5


Isobel~ Year 1
  
Jay~ Year 2

Hayley~ Year 5

My sample artwork

My 2nd sample artwork

Oli~ Year 5

Olivia ~ Year 1/2

Saiba~ Year 1
 

Saturday, 21 February 2015

Climate Soft Pastel Drawings


By Hanser
Lesson Background:


My Year 5 class is currently studying a unit called "SURVIVAL", involving both climate change and 1800s Australian colonies.  We created these artworks to show what early Australian settlers would have found as they made their way inland- hot, dry, harsh conditions, making it difficult to SURVIVE.  We also made drawings of icebergs and ice floes to highlight the difficulty the human race will have to SURVIVE in the future as the earth warms, ice melts and seas rise.


Lesson Materials (per student):  Written by Paris
  • 1 black A3 piece of paper
  • some chalk pastels for cool artwork:
  • white, different shades of blue e.g navy, turquoise etc
  • For warm artwork:
  •  red, yellow, orange, dark blue and black.


Lesson Steps:  Written by Paris
For cool artwork:
1: Draw a horizon line about five centimetres from the bottom of the page.
2: Draw an outline of an iceberg in lead pencil softly so you don't see it when you overlap it. Use different shapes.
3: Once you have finished the outline, with a white pastel, trace your outline
4: Colour in your iceberg with different colours, overlapping each other.
5: Shade the space where the sky would be. Do the same with the sea. Make sure they are very dark to simulate the artic.
For warm artwork:
1: Draw the horizon line about five centimetres from the bottom of the page.
2: Draw three mountains overlapping each other in lead pencil softly.
3: Shade the mountains blue.
4: Draw the sun with yellow pastel.
5: Colour the sun and draw some lines around the sun, again with lead pencil.
6: Using alternaite colours, colour the lines with yellow, red and orange.
7: Draw a shine on one side of the mountains, depending on where you put the sun. If you put the sun on the right side, draw the shine on the right side and visa versa.
8: Outline everything with a black pastel.  


Year 5 Student Artworks:


Year 5 Artworks


By Ryan

By Maddy

By Mackenzie

By Hanser

By Paris

By ?

By Miranda

By Ari

By Mina

By ?

By Keziah
 

Saturday, 7 February 2015

Thinking & Imagining Self Portraits

I particularly love the infusion of Aboriginal and Canadian heritage in this artwork.  Great job!

Lesson Background:

Well, after a wonderful year off to look after my baby boy, I now find myself back in the busy exciting creativity of school again!  This year I am teaching a Year 5 class and they are a fantastic bunch of kids.  To start the new school year off we made these self-portraits.  The students were asked to show me what they've been thinking about and imagining, and to make their self-portrait artworks tell me about who they are.

Lesson Materials (per student):

  • Photos of the students in a 'thinking pose' printed onto A4 paper and cut out (my students did this themselves)
  • 1 sheet of A3 art paper (watercolour if possible)
  • Watercolour paints (we used watercolour discs)
  • Water containers
  • Newspaper or covering to keep the tables clean
  • A glue-stick
  • 1 small fine paintbrush
  • 1 thick paintbrush
  • 1 black permanent marker

Lesson Steps:

1.  We looked at some sample artworks from some other blogs:
http://cappywrites.com/2010/11/25/im-accidentally-delusional/
http://carlisleartclass.blogspot.com.au/2013/12/use-your-brain.html
2.  We discussed what shapes, images, colours, lines and techniques (such as shading) looked most effective.
3.  We stuck our photo on the bottom corner of the A3 paper. 
4.  We used a black sharpie (permanent marker) to start drawing patterns, pictures, symbols and words that helped to represent ourselves.
5.  We coloured images in bright watercolour paints.
6.  Some of us chose to paint the background as well. 
7.  When dry, we went over the black marker in any places where the paint had covered the black marker.
 
Year 5, I am super impressed at your first artworks of the year!  Next time, I'll start to teach you how to create these blog posts yourselves.  Well done, 5B!

Year 5 Artworks:


Wednesday, 17 December 2014

Christmas Hand & Footprint Decorations with Baby Baker!

Charlie's foot and handprint decorations

Lesson Background:

Well, it's been a big year for me!  I've spent the year on a break from teaching my gorgeous Year 1/2s and have instead been bringing up and teaching my gorgeous baby boy.  Recently, I decided we would make some hand and footprint decorations to give to relatives to commemorate Charlie's first Christmas.

Lesson Materials:

*  Air-dry clay
*  Gold spray paint
*  A straw
*  Thin Christmas ribbon
*  A black permanent marker
*  A rolling pin
*  A knife
*  A sheet of baking paper
*  A BABY

Baby Baker with his new buddy, Santa
 Lesson Steps:

1.  Roll the clay into a ball, place on the baking paper, and use the rolling pin to flatten to about 1cm thickness.
2.  Hold the baby's hand or foot as flat as you can and press it firmly into the dough, squishing (firmly but gently) around all parts of the hand or foot, to leave a clear imprint.  (I had to turn this into a game with lots of silly voices and sound effects for Charlie to be on board!)
3.  Wash the baby's hands and feet, and put them in a safe place while you finish up!
4.  Using the knife (or a template), cut an oval shape around each of the imprints, leaving a small space above the top of each print for a hole.
5.  Use the straw to press a hole into the top of each ornament.
6.  Leave to dry 24 hours, or as long as required.
7.  Spray paint gold on both sides, leaving time for them to dry in between.
8.  Write an inscription on the back using the black permanent marker.  I wrote: "Charlie's first Christmas ~ 2014"
9.  Tie a piece of Christmas ribbon through the hole.

 
Merry Christmas from Mrs & Baby Baker!