Friday, 29 July 2022

Air-dry clay Dog Sculptures - Grade 1/2


Lesson Background:

Our spelling Word of the Week is "stray" and we read the gorgeous book "The Stray Dog" by Marc Simont. The children loved talking about dogs, so we had our lovely principal bring her 2 dogs in for a visit, read the fabulous picture book "100 Dogs" by Michael Whaite, and then made these dog scultpures.


Lesson Materials (per student):

A range of clay modelling tools

A chunk of air dry clay

a small pot of water (1 between 2 children is fine)

A drop sheet for the table and some baby wipes for cleaning hands and tables!


Lesson Steps:

1. We read "100 Dogs" by Michael Whaite and talked about the different types of dogs we might make a sculpture of. We also looked at photos of dog sculptures from Google Images, including some local ones. We talked about techniques such as making a dog look shaggy by using sharp tools to scrape all over the clay and how adding a muzzle rather than just a nose straight onto the head, will help it look more like a dog than a cat.

2.  We watched/read the wikihow video: https://www.wikihow.com/Make-a-Clay-Dog

3.  I showed the students how to break up their chunk of clay into a large section for the body, and then smaller chunks for head and legs, and even smaller chunks for tail, ears, eyes, muzzle and nose. I also modelled how to attach the pieces together, smooth the edges, and use water to help smooth & join, as well as stop the clay drying out. Most children did need some teacher help to ensure the legs were smoothly and strongly attached!

4. When completed, we put the children's initials into the base with a pen tip, and then left to dry!


Wayne Thiebaud Cupcakes - Grade 1/2


 Lesson Background:

Our spelling Word of the Week was 'cupcake'... it was a great opportunity to learn about compound words whilst decorating and describing cupcakes and exploring the sweet art of Wayne Thiebaud.

Lesson Materials (per student):

1 sheet of trimmed A4 black card

soft chalk pastels

a lead pencil and eraser

Lesson Steps:

1.  I modelled how to draw a cupcake step-by-step, suggesting and modelling ideas to personalise them such as adding cherries, leaves, cream, sprinkles, smooth or thick frosting and different types of paper cases.

2. After the children drew their cupcake/s with lead pencil, I showed them how to use the soft pastels including how to outline with the point, how to shade with them by turning them side-on so they are flat on the paper, and how to add shadows and light using white highlights and black/darker shades.

3. I backed the artworks and laminated to stop the dust spreading (the old hairspray fixative trick was a bit too stinky for me this time!)


Saturday, 18 June 2022

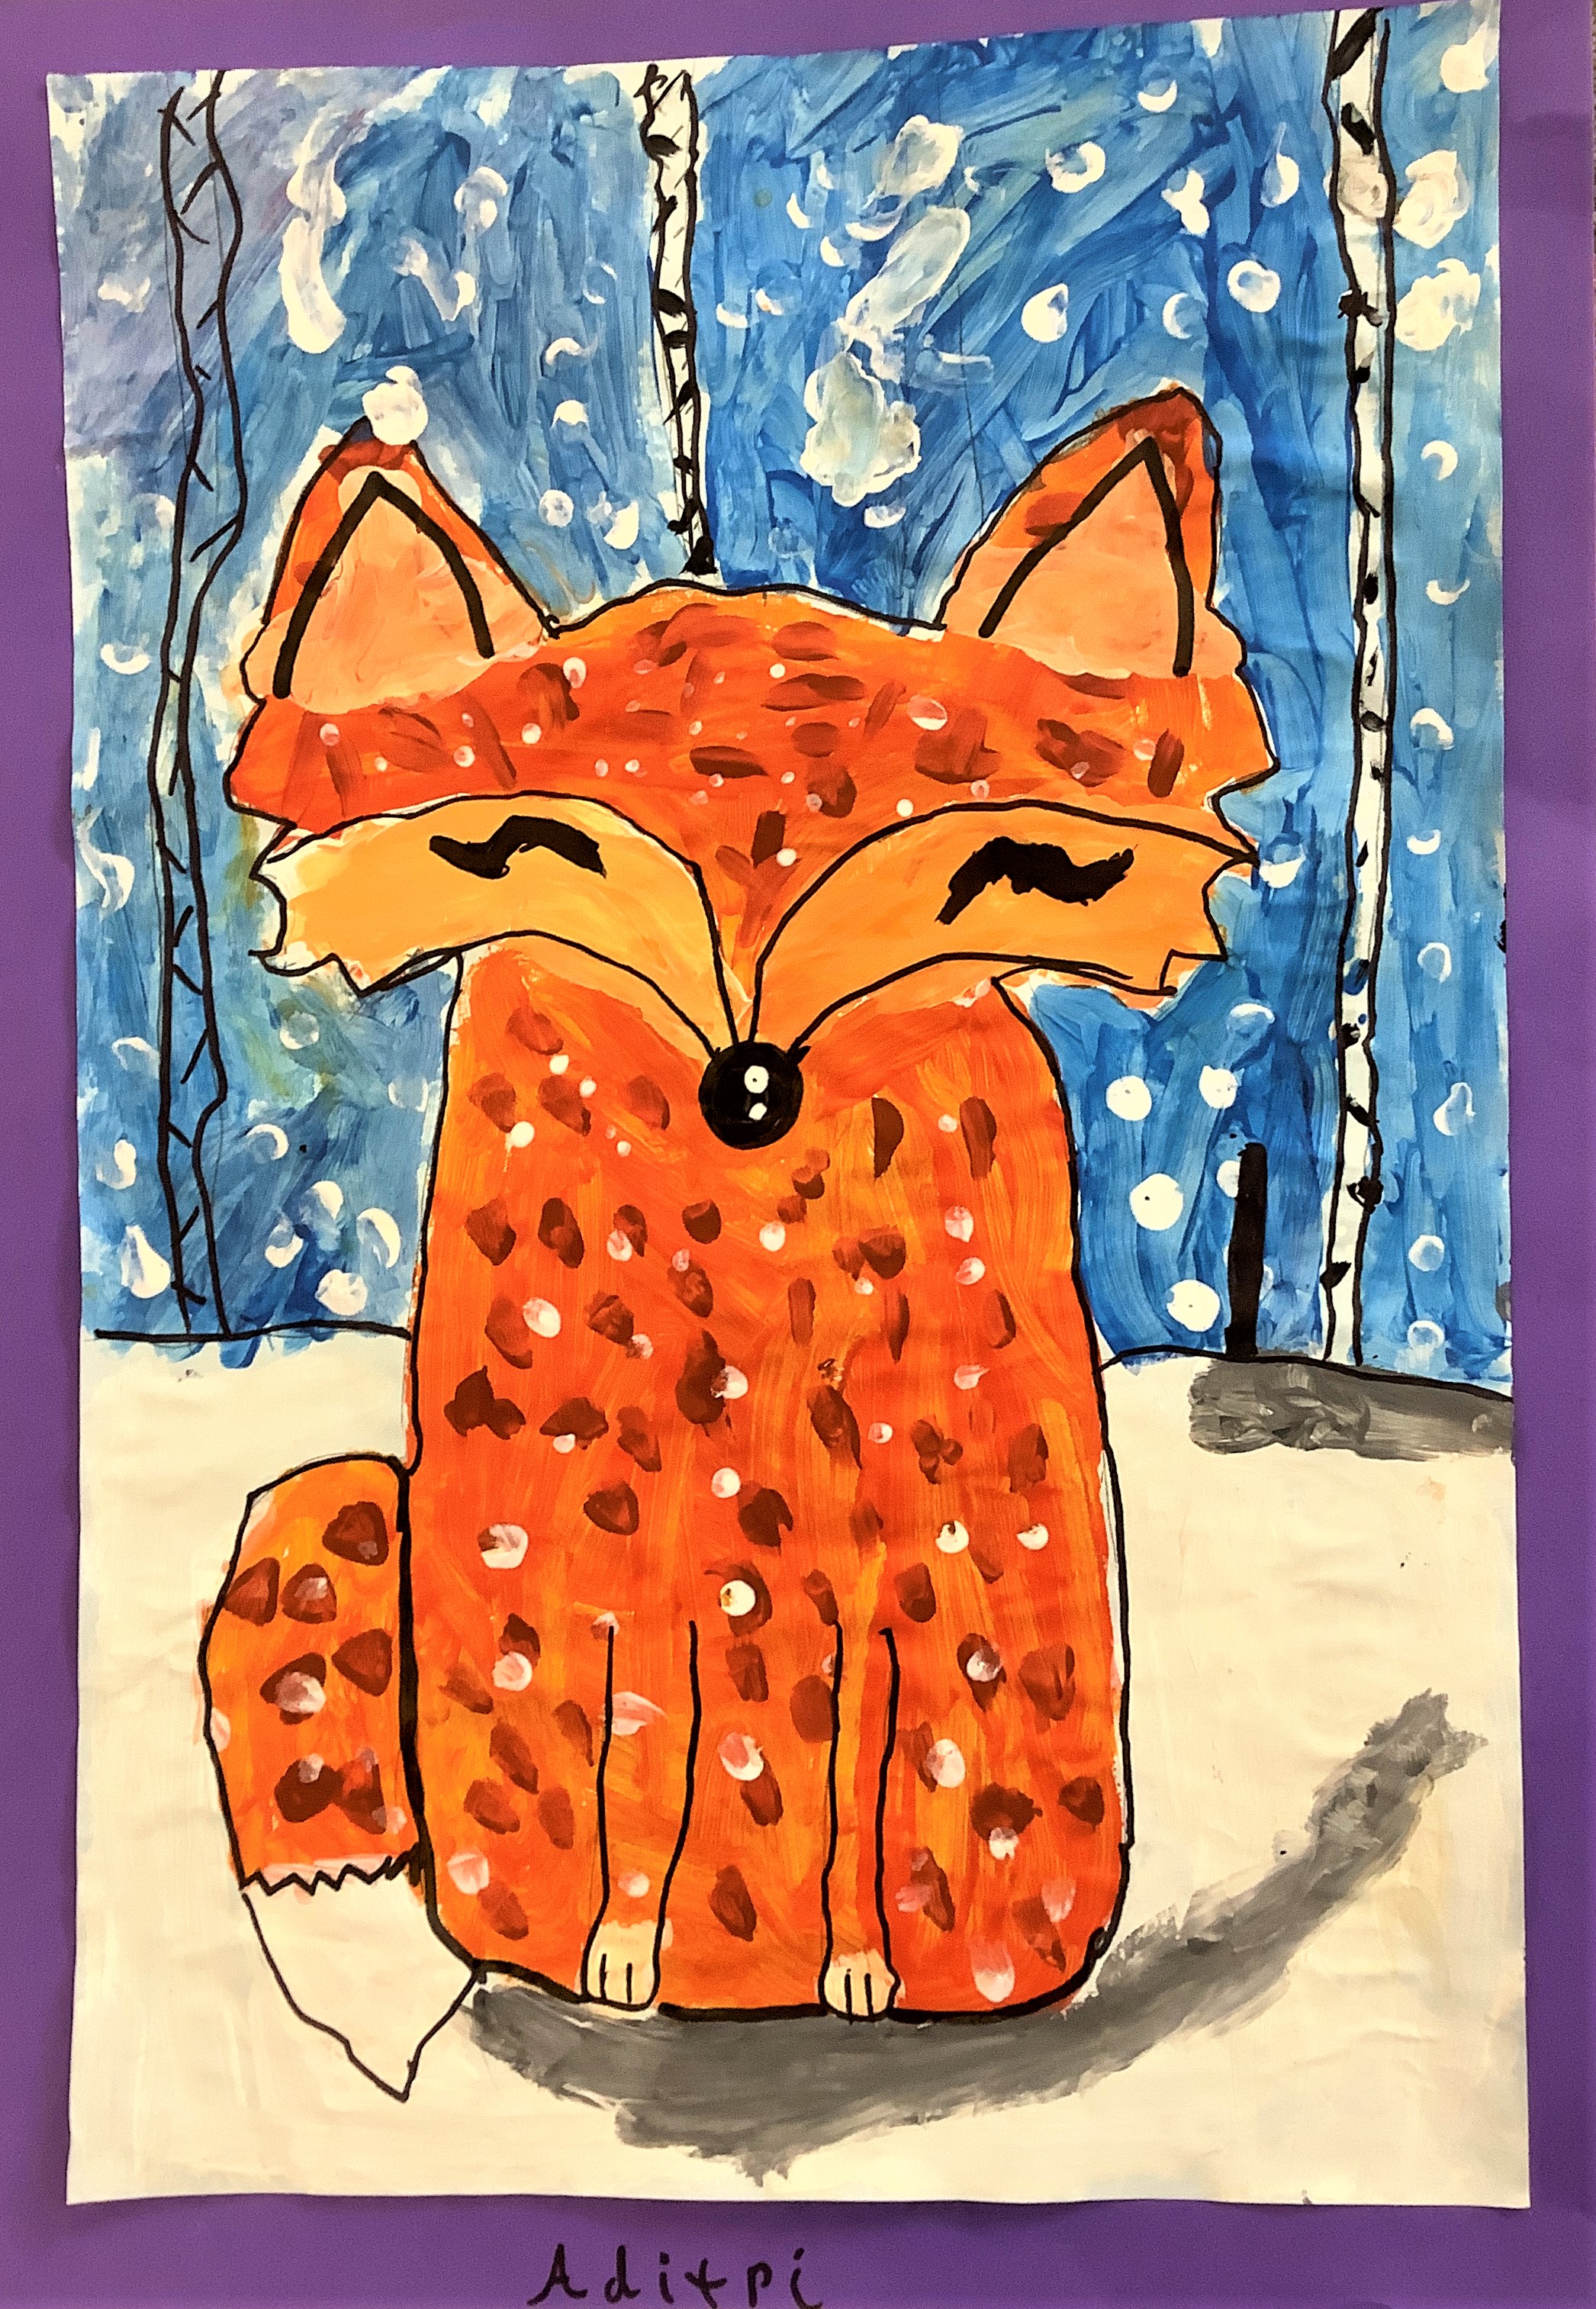
Winter Fox Paintings Grade 1/2


Lesson Background:


There are many winter fox art projects online such as this one http://littledogartblog.blogspot.com/2014/05/5th-grade-winter-fox-paintings.html

I combined lots of ideas to create these foxes.

This was a directed drawing lesson. Directed drawing (i.e. modelling step-by-step) elicits great discussions, exposing students to vocabulary they encounter in art and maths. Students are hearing and putting into action phrases such as “half way down the page”, “curved line”, “straight line”, “triangle shape”, “a quarter of the way down this shape”, etc. Once students had drawn the basic fox shape, they were encouraged to be artists and make it their own. Some chose to have white paws, pink ears, pink cheeks, blue trees, birch trees, falling snow, “cute” eyes, “closed eyes”, whiskers, grass, and many other variations. I love how unique they all are.


Lesson Materials (per student):

1 thin and 1 medium paintbrush

1 sheet A3 light blue paper (trimmed ready for backing)

acrylic paint (I provided orange, red, white, blue, black, brown)

water pots

thick black sharpies or whiteboard markers


My Sample artwork:


Lesson Steps

1. We looked at photos of foxes, including the one that lived in my backyard when I was teaching in England back in 2006. We also read stories and non fiction books about foxes in winter.

2. I showed the students how to draw the fox and background, step-by-step, offering lots of chances to individualise their foxes (different eyes, whiskers, type of trees, etc.). Students followed along with their lead pencils.

3. I modelled how to paint one section at a time, offering ideas such as using dabs of paint for a more "messy" impressionistic style, or smooth blended strokes for a more realistic look. I also showed them how to add texture to the fur with little lines or dabs, how to blend a little black into the snow to show shadows, etc.

4. Once dry, the students used markers to outline. We actually found our thick black whiteboard markers worked best (particularly on paintings that had "gone out of the lines" a lot).


Student Artworks:


Sunday, 12 June 2022

Grade 1 & 2 Rock Painting in the style of Bronwyn Bancroft


Lesson Background:

My class has been learning about weather during Science and last week we explored indigenous seasons. We read Alison Lester’s fabulous picture book, “Ernie Dances to the Didgeridoo” and Katrina Germein & Bronwyn Bancroft’s stunning book “Big Rain Coming” to see what changes occur to plants and animals in each season. We then painted some rocks in the style of Bronwyn Bancroft, trying to represent one of the seasons we had learnt about.


Lesson Materials (per student):

1 smooth flat rock/pebble

Acrylic paint pens (I highly recommend these over regular acrylic paints with brushes, as they allow children to create much more intricate patterns with greater ease)

Clear spray varnish


Lesson Steps:

1. We explored the art of Bronwyn Bancroft and looked at how she uses background colours with patterns over the top. We also looked at the different types of dots she uses (different sizes, dots within dots, dots with borders, etc) and other patterns such as straight and curved lines. We talked about what colours we could use to best represent different seasons, such as warm colours for hot, dry seasons, and cool colours for wet, cold seasons.

2. The children used the pens to paint their designs.

3. I coated the rocks with varnish.

Haven't they done a brilliant job?!


Student Artworks:

My sample rock

Minnie's beautiful rock (Grade 1)

More stunning rocks from Lachie & Isabel (Grade 2)

Some spectacular offerings from Onyx, Nick, Theo and Nicholas (Grade 1)

And some more magic from Ahmed (Grade 2), Sia (x2!) (Grade 1). Mikaela and Isabel (Grade 2)


Tuesday, 12 April 2022

Grade 1/2 Easter Cards


Lesson Steps:
To celebrate Easter, we created these Easter cards. The idea came from http://krokotak.com/2014/04/how-to-make-an-easy-easter-postcard/

 Lesson materials:

1 sheet A4 white card with egg shapes on the bottom half

Coloured textas

1 black sharpie


Lesson Steps:

1. Fold the card.

2. Draw patterns on some of the egg shapes, and turn other egg shapes into chicks and rabbits.

3. Colour with textas.

4. Outline with black sharpie.


Artworks:

My example


Grade 1/2 3D shape artworks


 Lesson Background:

As part of our Maths unit on 3D shapes, we created these 3D shape artworks, based on those from https://iblog.dearbornschools.org/kobeissiart/2020/05/18/2d-shape-vs-3d-form/


Lesson Materials:

1 A4 sheet with the background shapes drawn in

1 A4 sheet of white art paper, folded into 6 squares

coloured textas

1 black sharpie

charcoal

scissors

glue


Lesson Steps:

1.  Colour the background starting with warm colours from the sun and working to cool colours.

2. Model step by step how to draw 3D shapes. The children follow along on the white paper, putting 1 shape in each square.

3. Use the black sharpie to outline the shapes.

4. Model how to use the charcoal to shade the 3D shapes, as the children follow along.

5. Cut the shapes out and stick them on the background.


Artworks:


Grade 1/2 Paper Snowflakes


Lesson Background:

We decorated our classroom door with these beautiful snowflakes. It was a lovely way to start the year, talking about how we are each unique, different and special.


Lesson Materials:

white, light blue and dark blue paper circles


Lesson Steps:

1. We watched some videos and read some books about snowflakes.

2. I demonstrated how to create different shapes and patterns in their snowflakes.

3. The children folded, then cut out their snowflakes.


Lesson Background:

As a part of our Geography unit, we brainstormed places around us and landmarks near our homes and school. We then created these artworks trying to show some of these places.

Lesson Materials (per student):

1 A3 sheet white art paper

watercolour paint

1 black sharpie


Lesson Steps:

1. The  children drew the features around their homes with lead pencil.

2. The children then painted their pictures.

3. When dry, the children outlined their drawings with black sharpie.


Student Artworks:


Charlie & the Chocolate Factory Candy Drawings


Lesson Background:

We started the year by reading "Charlie and the Chocolate Factory" by Roald Dahl as our class novel. We created these little artworks and also linked our data unit in Maths to the book by graphing which treat we would try first if we ever won a golden ticket.


Lesson Materials (per student):

half an A4 sheet white paper

Coloured pencils

A black sharpie

a lead pencil

1 sheet gold card (slightly larger than the art paper)


Lesson Steps:

1. Use Art for Kids Hub Art for Kids Hub - YouTube to do some directed drawings of a range of sweet treats using lead pencil on the art paper.

2. Colour with coloured pencils.

3. Outline with black sharpie.

4. Stick the artwork onto the gold card.

Grade 1/2 Watercolour Self Portraits


Lesson Background

I have a beautiful new Year 1/2 class. We made these portraits in week 1 of the new school year as part of our getting-to-know-you activities. I took the basic idea from http://thetalkingwallsmurals.blogspot.com/2013/01/paul-klee-inspired-self-portrait-lesson.html and just changed the materials to match what I had available.

Lesson Materials (per student)

1 A4 sheet of white art paper

watercolour paint

1 black sharpie


Lesson Steps

1. Show students how to draw a face using step-by-step instructions.

2. Children follow along, drawing their face using lead pencil.

3. Use watercolour paint to paint sections of the background.

4. When dry, outline the portrait in black sharpie.


Artworks:


Friday, 26 November 2021

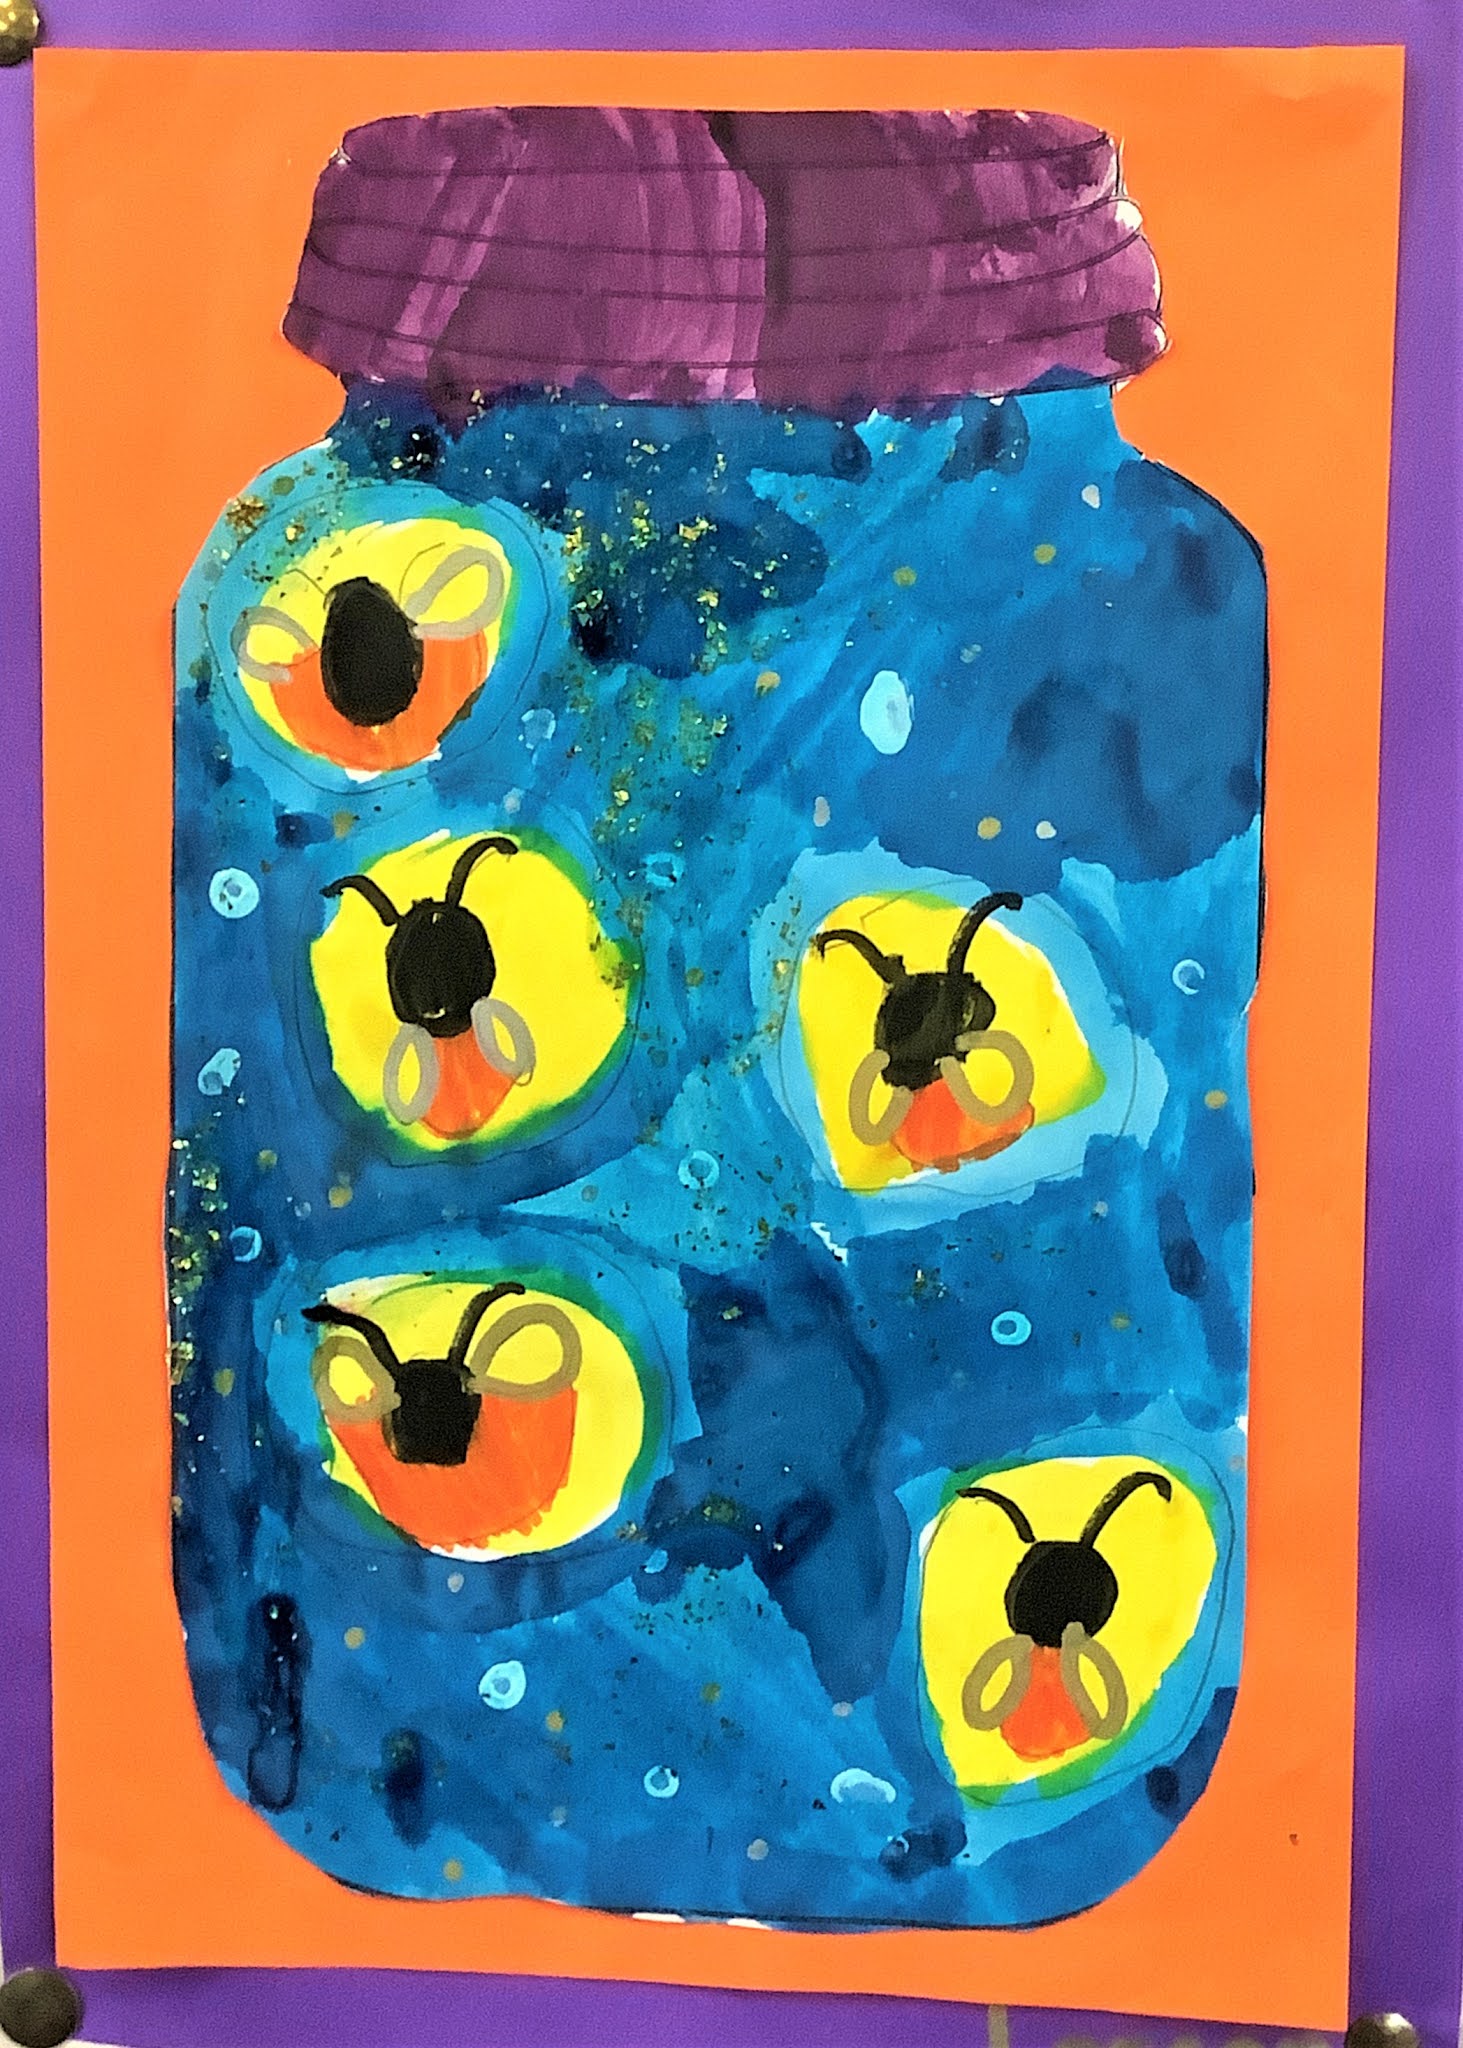
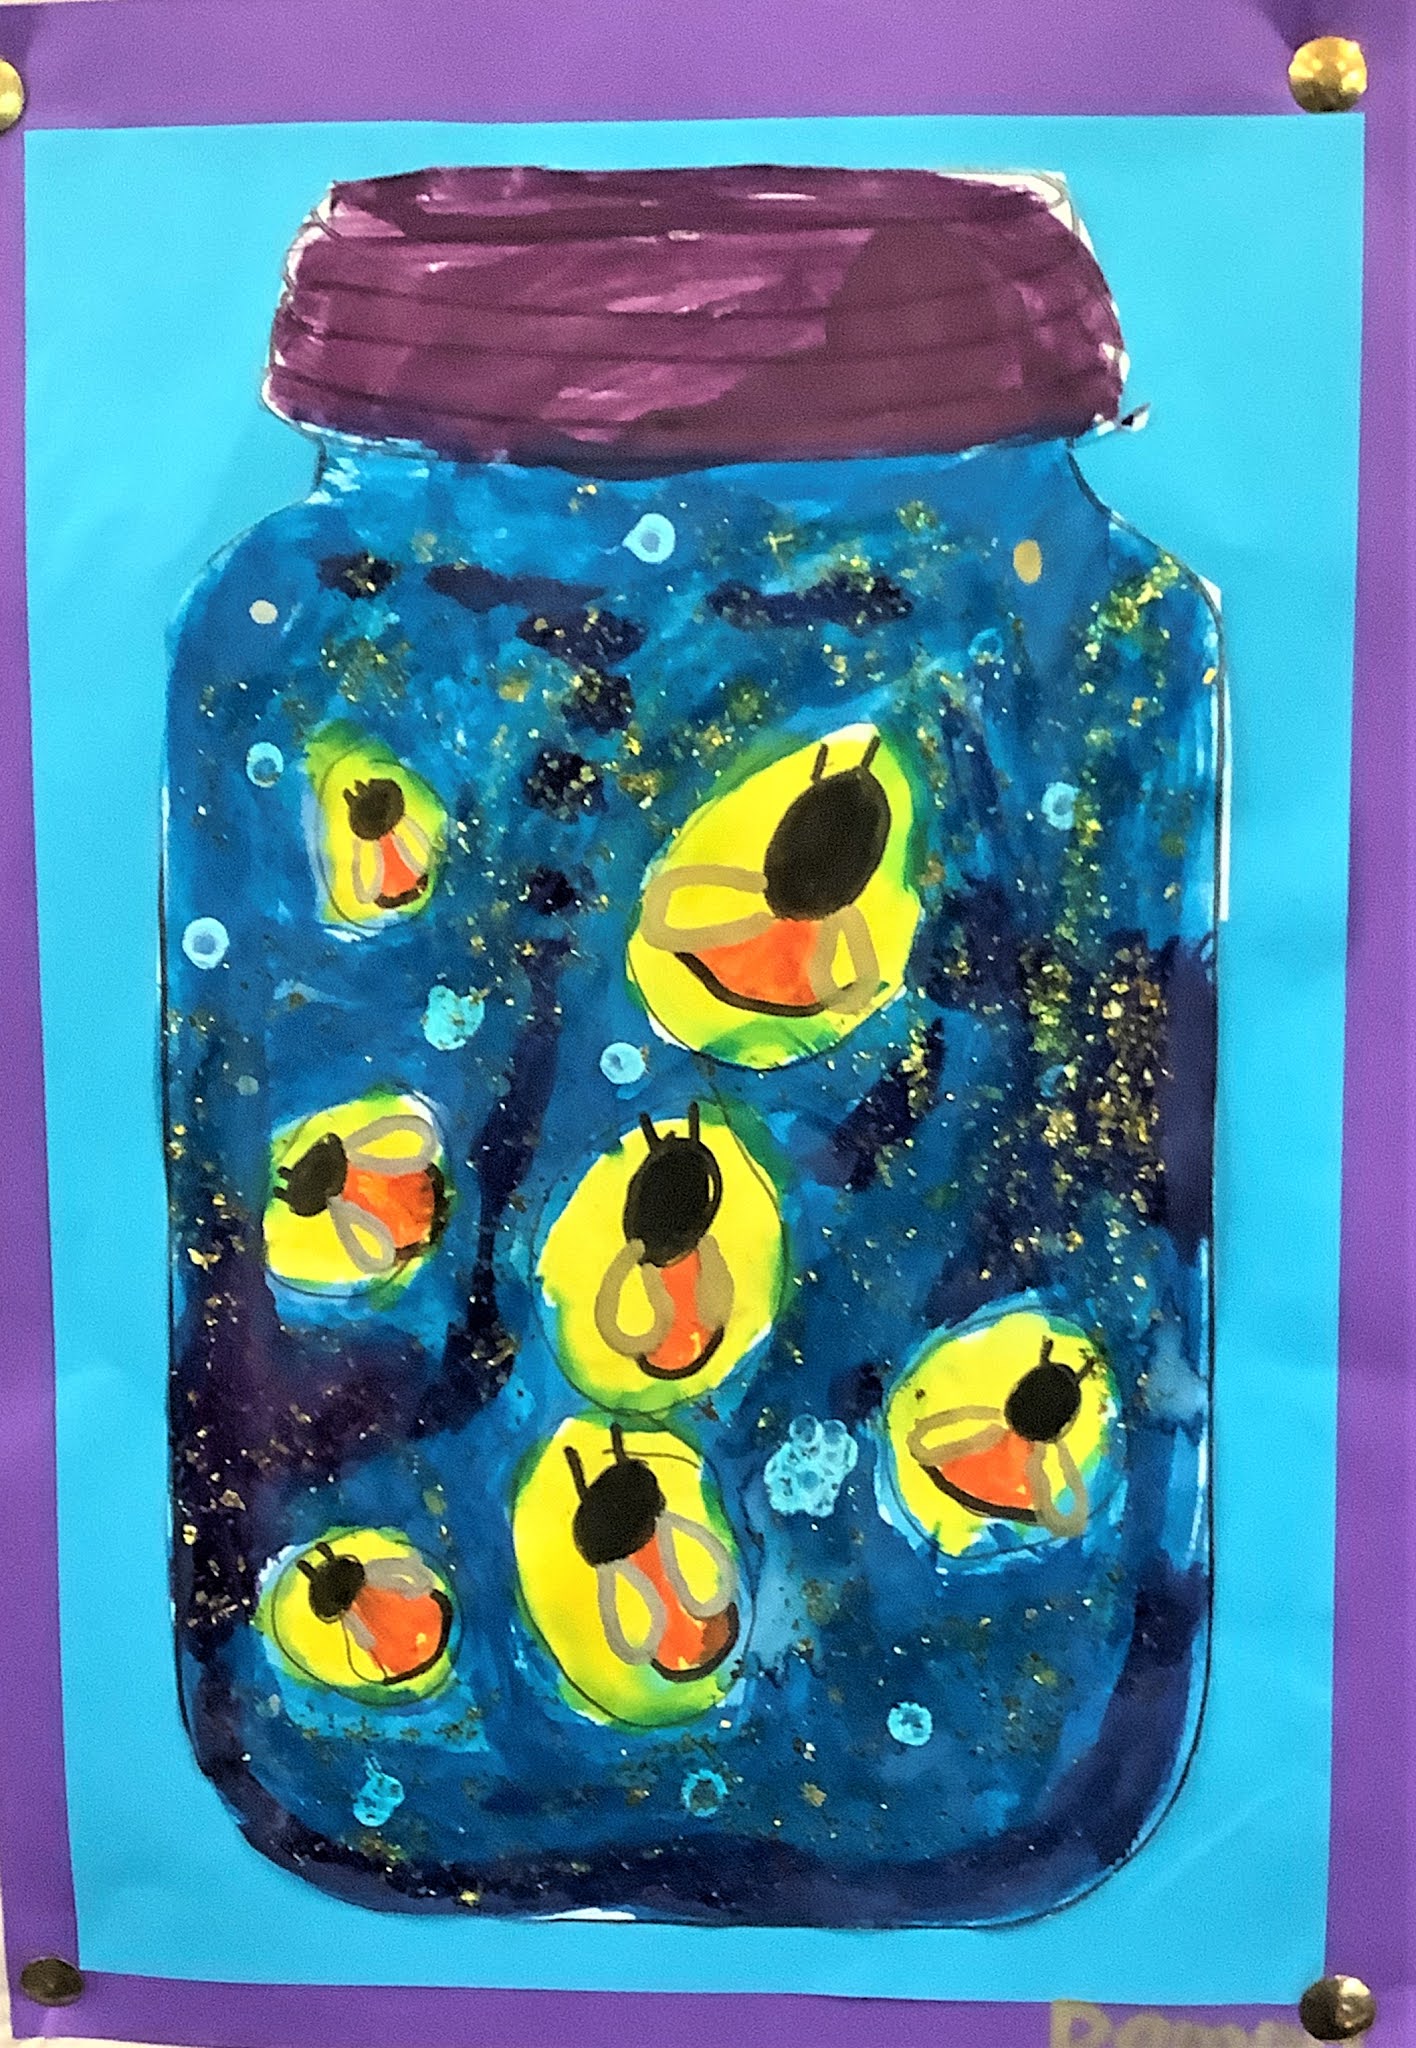
Fireflies - Grade 1

1B artworks

 Lesson Background:

Our spelling word of the week was "glow" this week, so we spent the week researching fireflies. We watched many videos, read many books and created our own book. We created these artworks using the amazing idea from this website, with just a few changes: http://kathy-angelnik.blogspot.com/2015/06/glow-in-dark-firefly-art-lesson.html


Lesson Materials (per student):

1 jar template on white A4 paper (I just used Google images)

Blue, purple and yellow dye (I used Kindergarten fun dye)

Silver and gold texta

a small blob of white paint

a cotton bud

1 black sharpie

1 lead pencil

1 orange texta

gold glitter glue

a paintbrush for each of the inks and the glitter glue


Lesson Steps:

1.  We drew the fireflies onto the jar template with a circle around each, with me demonstrating out the front.

2.  We used the purple ink to paint the jar lid, the blue ink to paint around the fireflies, and the yellow ink to paint inside the firefly circles and over the fireflies (warn the children not to paint the yellow too near any big blobs of blue ink- use a tissue to mop up any pooling blue ink first).

3.  We used the purple ink to make a few shadows in the blue jar, and the blue ink to make a few shadows in the purple lid.

4.  We waited until the ink was dry, then used the black sharpie to colour the fireflies' heads and outine the rest of their bodies.

5.  We used the orange texta to colour the fireflies' bottoms.

6.  We used the gold and silver pens, and the cotton bud dipped in white paint to dot circles of different sizes all over the blue.

7.  We covered over the blue with a layer of glitter glue.


Student Artworks:


By Olive

By Immy

By Emma

By Sera

By Lorcan

By Damon

By Isabel