 |
| By Eve (Year 1) |
We did this artwork as a fun culminating activity to celebrate the wonderful watercolour painting unit we have been doing this term. The lesson is based on one I found on a great art education blog called Art Projects for Kids: http://www.artprojectsforkids.org/2012/03/koi-fish-painting.html
Lesson Materials:
- Watercolour paints (we used tube ones which are nice, but palettes are easier for the kids and less messy for the teacher)
- 1 thin, medium and thick paintbrush per child
- 1 clean water container per pair
- 1 dirty water container per pair
- 1 serviette per person (to wipe wet or dirty brushes on and to "lift out" unwanted watery messes!)
- 1 sheet A3 watercolour paper per child
- 1 black permanent marker per child
- 1 lead pencil per child
- 1 eraser per child
- The "How to Draw" stencil of a koi fish (as mentioned above)
Lesson Steps:
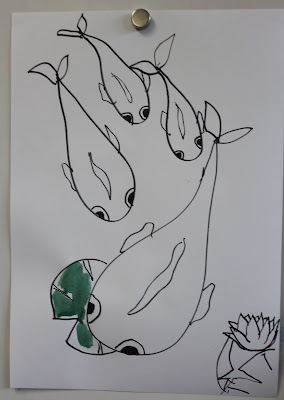
1. We looked at photos and artworks of koi fish. We looked at the way artists represented their movement. in water We also talked about possible ideas for colours, patterns and pond plants that they could include in their artworks.
2. I showed the students the "How to Draw" stencil from Art Projects for Kids.
3. I then modelled how to use it to draw the fish. I also modelled how to draw a basic lotus flower and lily pad.
4. SMy students then drew their own fish artwork. I encouraged them to have as many fish as they wanted travelling in whatever direction they wished. I also told them to think up their own unique colours, patterns and any other added details for their artwork to make them all different and special.
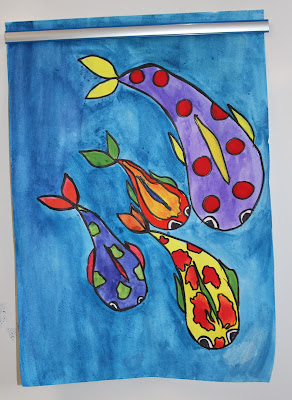
5. After the drawings were completed (up until this point, it had taken us about 25 minutes), I modelled how to use the watercolour paints and brushes to colour in the patterns of each fish (splodges, stripes, spots, etc). We discussed the importance of not painting the rest of the fish so that the colours from the patterns didn't bleed.
6. The students painted their fish patterns, lily pads and flowers.
7. I modelled how to paint around the patterns to fill in the rest of the fish.
8. The students painted the rest of their fish.
9. While their fish were drying, I modelled how to paint the water with a large brush, using smooth even strokes. We discussed the different possiblities of water colours (plain blue, blue/green, blue/purple, etc).
10. The students went back and prepared a big puddle of their water colour. They then painted their backgrounds.
11. The students let their artworks dry. Afterwards, some went back to tidy sections up, use water to smooth out messy strokes, or use a little more fresh paint to brighten up murky sections on their artworks.
12. When completely dry, the students outline all lines and shapes on their artworks.
All up this lesson took approximately 2.5 hours.
Student Artworks:
 |
| By Dora (Year 2) |
 |
| By Paige (Year 1) |
 |
| By Sebaga (Year 2) |
 |
| By Gabe (Year 2) |
 |
| By Eloise (Year 2) |
 |
| By Charlotte (Year 2) |
 |
| By Joss (Year 1) |
 |
| By Marlo (Year 2) |


these are so colourful and amazing!all the techniques we used came in really handy!these were so exciting to do!
ReplyDeletegreat conclusion to our unit!
Delete