 |
| The first finished of 3BD's fringe lily artworks |
Lesson Background:
It's the beginning of a new school year, and our new class name is the Fringe Lilies, named after a gorgeous native flower. We had a look at some photos of our namesake and then drew these pictures.
Lesson Materials (per student):
1 sheet A4 black card
oil pastels, including light and dark purple
lead pencil
pictures of fringe lilies
Lesson Steps:
1. After looking at the photos, I step-by-step demonstrated how to create the basic shape of a fringe lily flower- 3 curvy slightly-pointed petals, with a 5 pointed star shape inside it. The children then used their lead pencils to draw these shapes on their page, and were encouraged to draw as many as they liked the look of.
2. I then showed them how to show light and shadow by using purple inside, darker purple for the star (or dark blue covered in normal purple), white tips blended in, and light purple fringing around each petal. One of the children also noticed a small yellow-ish centre with little black flicks, so we added that too.
3. I then asked the children to notice the shape of the grasses/leaves around the flowers, and we talked about drawing the outline of thicker grass, rather than just drawing only lines or scribbling grassy shapes. We started by using light green, then blending dark green on the shadowy side, and yellow or white on the light side.
4. We looked at the colours we could see in photos to show light and shadow- dark blue, purple, black, yellow, white, light blue, and I demonstrated how they could use upward motions to do thin grasses and shadows.
5. I really encouraged the children to do what they liked the look of - to be an artist, not just an imitator!! I think they did a great job :)
Grade 3 Student Artworks:
 |
| By Anya |
 |
| By Reta |
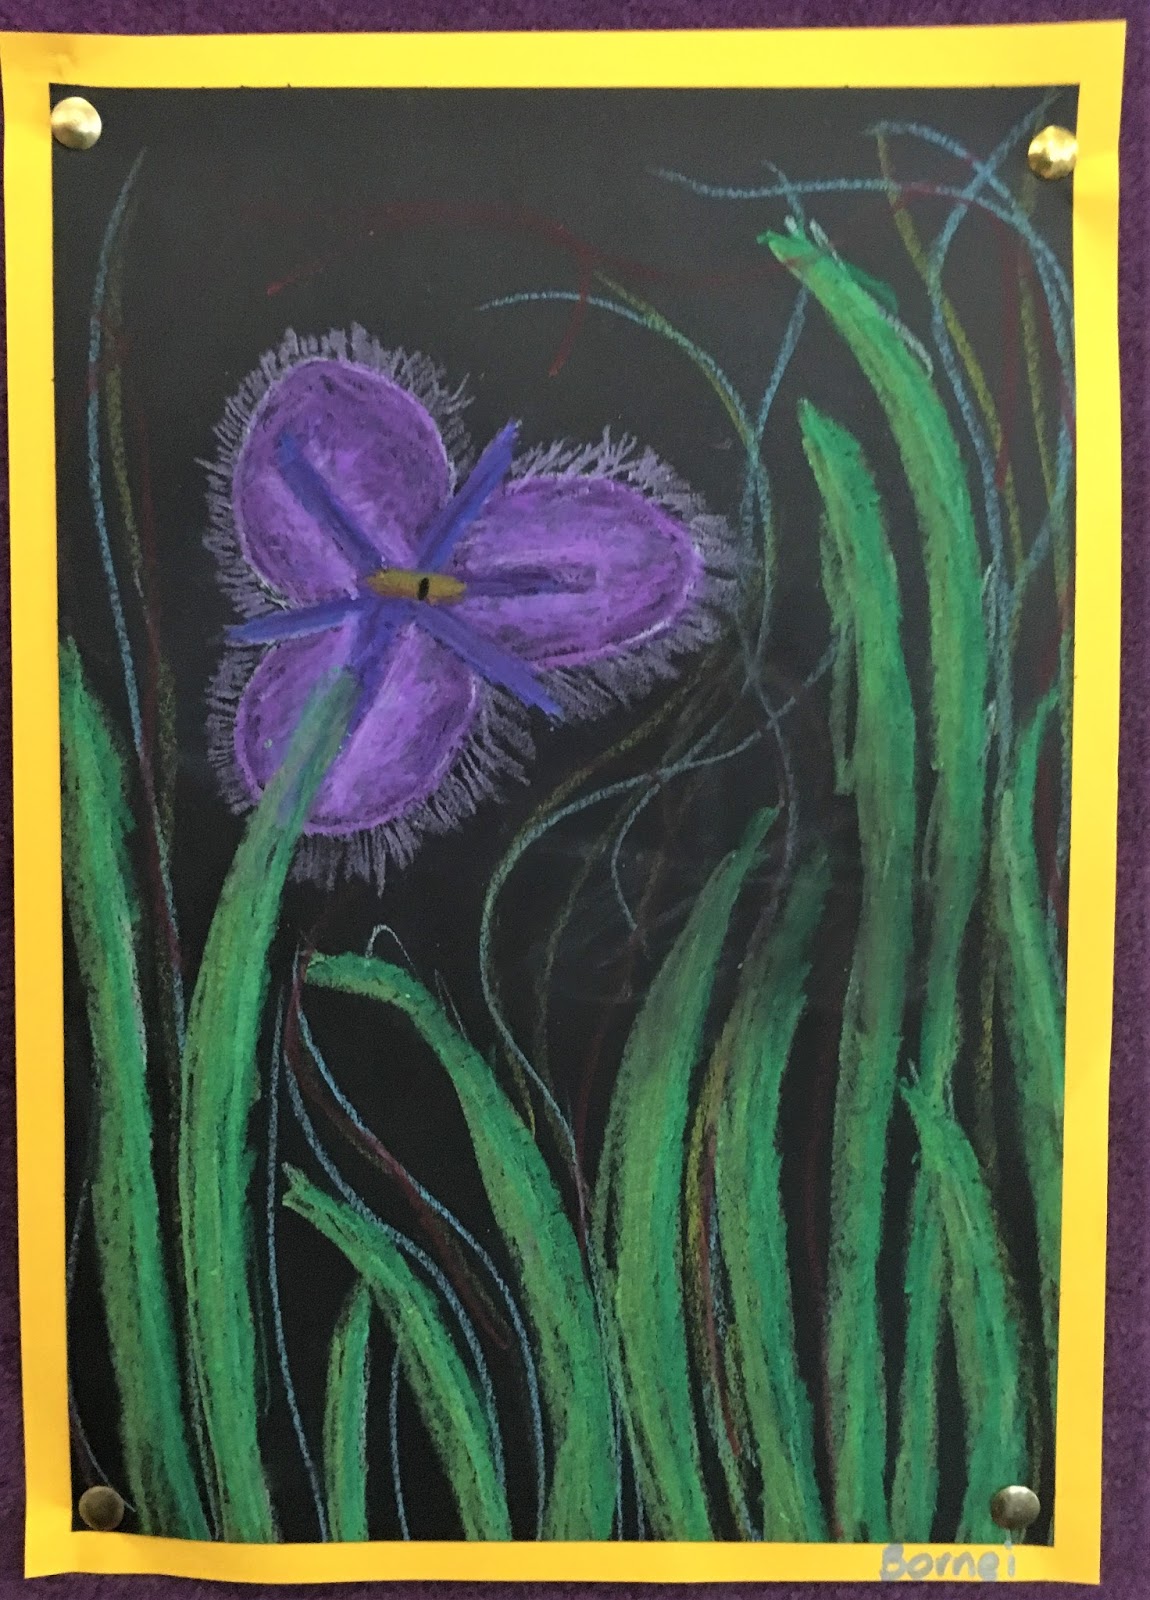 |
| By Bornei |
 |
| By Keira |
 |
| By Waznah |
 |
| By Cole |
 |
| By Idan |
 |
| By Ezekiel |


