 |
| 3B Desert drawings, 2010 |
I designed this art lesson as a part of an Integrated Studies unit of work on animal and plant adaptations. We had been learning about desert environments and the adaptations of desert plants, including the cactus. I went searching for cactus artworks on Google Images and found a few beautiful ones that I showed the students. From these images, I designed the layout of this artwork.
Lesson Steps:
1. Students were given an A4 sheet of white art paper.
2. With the students at their desks and me at the board demonstrating step-by-step, I drew in 2 mountain shapes in the foreground. I then drew in 1 large mountain in the background. The students followed, creating whatever shapes for the mountains that they liked best (I did tell them that the cactus would be on the left side of the paper, so they would need to put the interesting shapes and curves of their mountains on the right hand side of the paper).
3. I then drew the basic cactus shape on the left side of the paper (I explained that it was like a column with a rounded top- like a long upside-down 'U' shape. I also suggested they start their cactus shape approximately 2 finger spaces from the left, to have it stop about 2 finger spaces from the top of the page and about halfway across the paper).
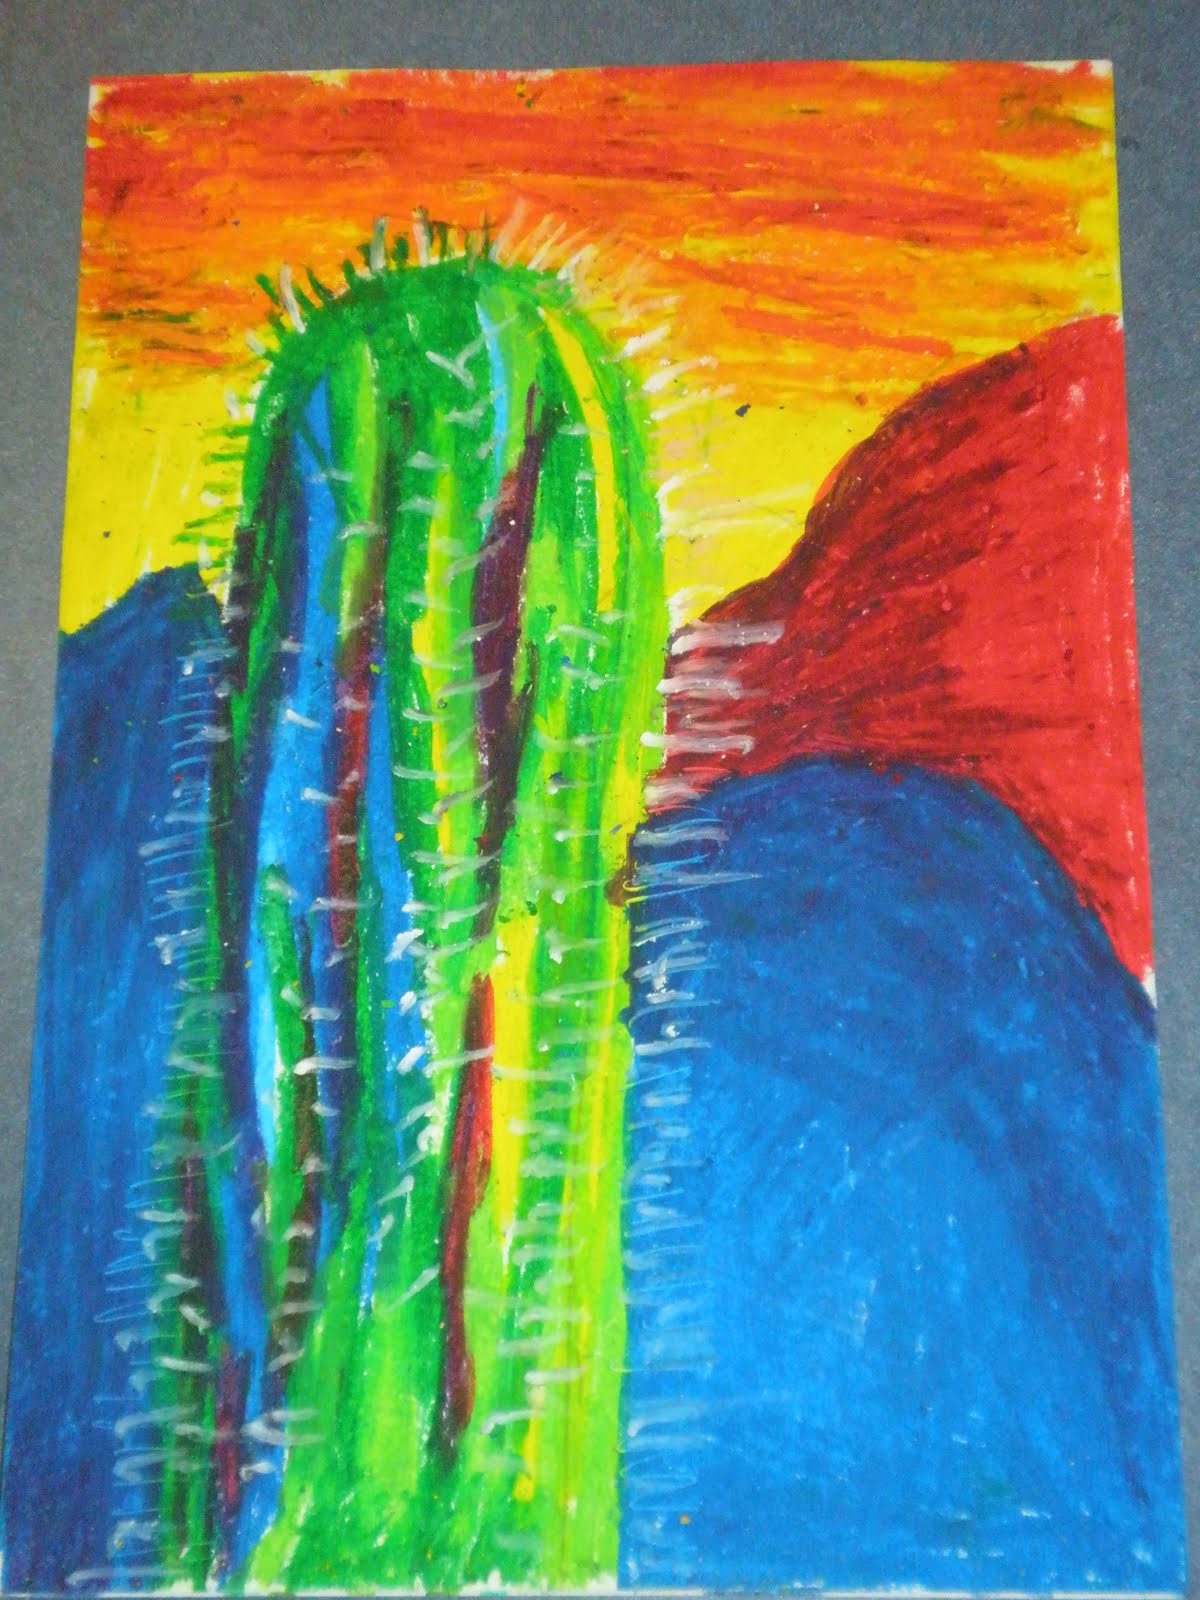
4. I asked the students to colour nearly the whole sky in yellow oil pastel (leaving just a strip of 2-3 finger spaces blank at the top). I then asked them to colour the blank strip in red oil pastel. after this, I showed them how to use orange oil pastel to mix through the bottom of the red and down into the yellow, to create a 3-toned sunset in the sky.
5. I then demonstrated how to colour the mountains in the foreground. We started by colouring the whole mountain with dark blue oil pastel. I then showed the students how to use dark purple and navy to show the shadows and how to use light blue to show the ligher areas.
6. For the background mountains, we covered them in red oil pastel and then used purple for the shadows and a little orange oil pastel for the lighter areas.
7. After this we were ready to start on the cactus. I showed them how to draw in long, pointy, slightly wavy strips all over the cactus. I explained how most of the right side of the cactus would be light green (where the sunset was shining) and most of the left side of the cactus would be dark green (in the shadows). In between, would be mostly filled with other light colours (pale blue and yellow strips) on the right side, and mostly darker colours (dark blue, navy blue, dark purple) on the left side. I demonstrated how to do this and explained the importance of leaving no gaps.
8. When the picture was complete, I showed the students how to use the sharp edge of a white oil pastel to draw small spines going around the outside of their cactus. I then showed them how to create lines of spines inside the cactus as well. (I had originally tried to do the spines by just scraping away lines in the oil pastel, but I found it didn't show up very well- you couldn't see them unless you were right in front of the artworks!)
Year 3 Artworks:
 |
 |
No comments:
Post a Comment